
1. Carson & Taylor; 5/18/10; 6:00 pm; Rexburg, ID; f6.3; 1/125; ISO 250; Canon 7d
You can't really tell on blogger (very much) but I thought the Match Color trick worked really well even with a completely different picture entirely. I had never used this tool before so I had to mess around with the sliders but I thought it warmed up the picture nicely.
Original

Match Color Picture Used

Original

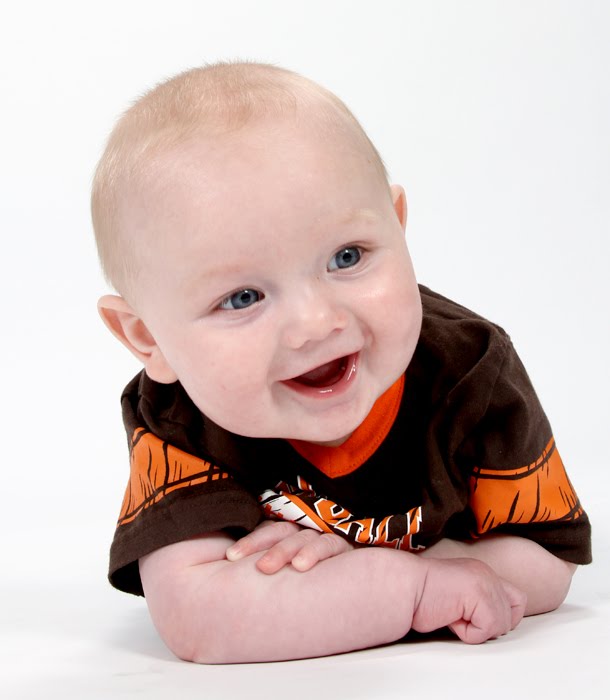
Edited

Clarke; 5/30/10; 2:00 pm; Birch Creek, ID; f7.1; 1/200; ISO 250; Canon 7d
For this picture of my brother I evened out his skin, enhanced his eyes (realistically), and whitened his teeth (just a tad). We were camping so his hair wasn't done but I still thought the picture looked nice. I also added a vignette and boosted the contrast in camera raw.
Original

Edited

Zach, Oscar, and Chalee
5/31/10, 2:00 pm, Gardens; f5.0; Shutter Speed 1/200; ISO 100; Canon 7d
For this picture I wanted to make their clothes match a little bit better. They were all wearing yellow but Oscar's shirt was a little too bright so I changed the color of yellow it was and Chalee's shirt under her jacket was clashing a little (as well as the writing on her jacket so I changed it to blue to match oscar's overalls. I thought the results turned out well.


